
Unlock the Depths: Sonar Tips for Better Fishing
Share
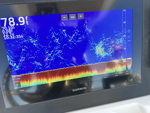
I had a whole career working in engineering design before I started my charter business, and from feedback with seminars that I do and from social media tutorials, I launched a marine electronics consulting service to help. From the lessons learned, here are some common terms, tips, and techniques to help you get the most out of your boat, locate and identify fish, and avoid damaging anything expensive. This will include answers to a lot of questions that I see in forums online.
Note: This is tailored for Garmin users, as that’s the system I use and encounter most often. However, applying these tips to other manufacturers is fairly simple since many of the terms and methods are similar. 
Before starting, turn off your transducer when you’re not in the water. Transducers use water for cooling like a lot of other boat products. From my experience, the temperature sensor is the first thing to fail when this happens, which can often lead to a replacement (or a very creative fix).
Most brands have an easy way to do this. On the newer Garmin units – the best shortcut to save your transducer is a long press on the power button. This opens up a menu with some frequently used options, such as Disable all Sonar Transmission. 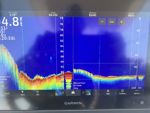
There’s a lot that goes into viewing traditional (2D) sonar. Sonar uses sound waves to detect objects underwater. It’s especially useful for viewing (and understanding) the composition of the bottom, finding wrecks, and, most importantly – finding (and identifying) fish. While the sonar process doesn’t change much, the ability of a chart plotter to analyze the return data can, if you know what you’re doing. This is especially useful for settings to change when trolling, bottom fishing, in deeper vs shallow water, etc. I have sonar presets saved for a variety of applications, and we catch plenty of fish because of it. But first, some background.
I’m sure you’ve heard the term Gain before.
The Gain is the level of detail and noise on the screen. The higher the gain – the more noise/smaller fish you see. The lower the gain – only the big things show up. Auto works well for most people. With an understanding of some other settings – ideally you can view your bait/line going down on the screen. I like to see more than most – maybe how smaller fish react to my line or bait, rather than only viewing the big stuff.
Sonar is broadcast in a Frequency. There are single frequency transducers, multiple, or chirp transducers. Higher frequency (200Hz) provides a narrow beam width, better for high speed or rough waters. Lower frequency (50Hz) shoots a wider beam. This works better in deeper water – low frequency has better deep water penetration but can often provide a lot of surface noise. What I use is called Chirp. Chirp pulses through a range of frequencies, merging them together for better separation in most water.
Speaking of Surface Noise – I almost always turn that off. Most units default to surface noise when turned on. Experiment with your settings for the best image. Like I said – the more you think about it or understand it – hopefully the more fish you catch! There’s a lot of appearance settings that you can change, from which color palate to some more advanced features.
One I’d like to point out is called A-Scope. I call this the poor man’s LiveScope. Most of what you view on the sonar screen is history, that is, what was under your boat when the sonar signal returned. A-Scope is a vertical flasher that allows you to see what’s under your boat in real time. I first started using it to explain to people what I’m looking at – “This column is what’s under the boat. The rest is history of what was under us”. You’ll notice in the picture that there’s a depth reading as well as a number at the bottom of the A-Scope column. Sonar signals come out in a cone. That number is the diameter of the cone at the bottom. The deeper you get, the bigger the diameter of the cone. So, what you see in that column is somewhere in that cone, under the boat! Pretty easy to see where the fish are and how to adjust. There are additional settings built in to adjust how that works, but I’m trying to keep this short.
Another feature is called Color Gain. This helps define hard vs. soft bottom. Try adjusting the parameters when you know what you’re over. I use this a lot to identify sand, mud, live bottom, etc. In collaboration with Echo Stretch, which adjusts the size of the returns, it can help make things a lot easier to identify. If you think about what kind of bottom composition that certain fish like, it can make identifying things a lot easier. For example, I don’t often find red snapper hanging out over patches of mud. 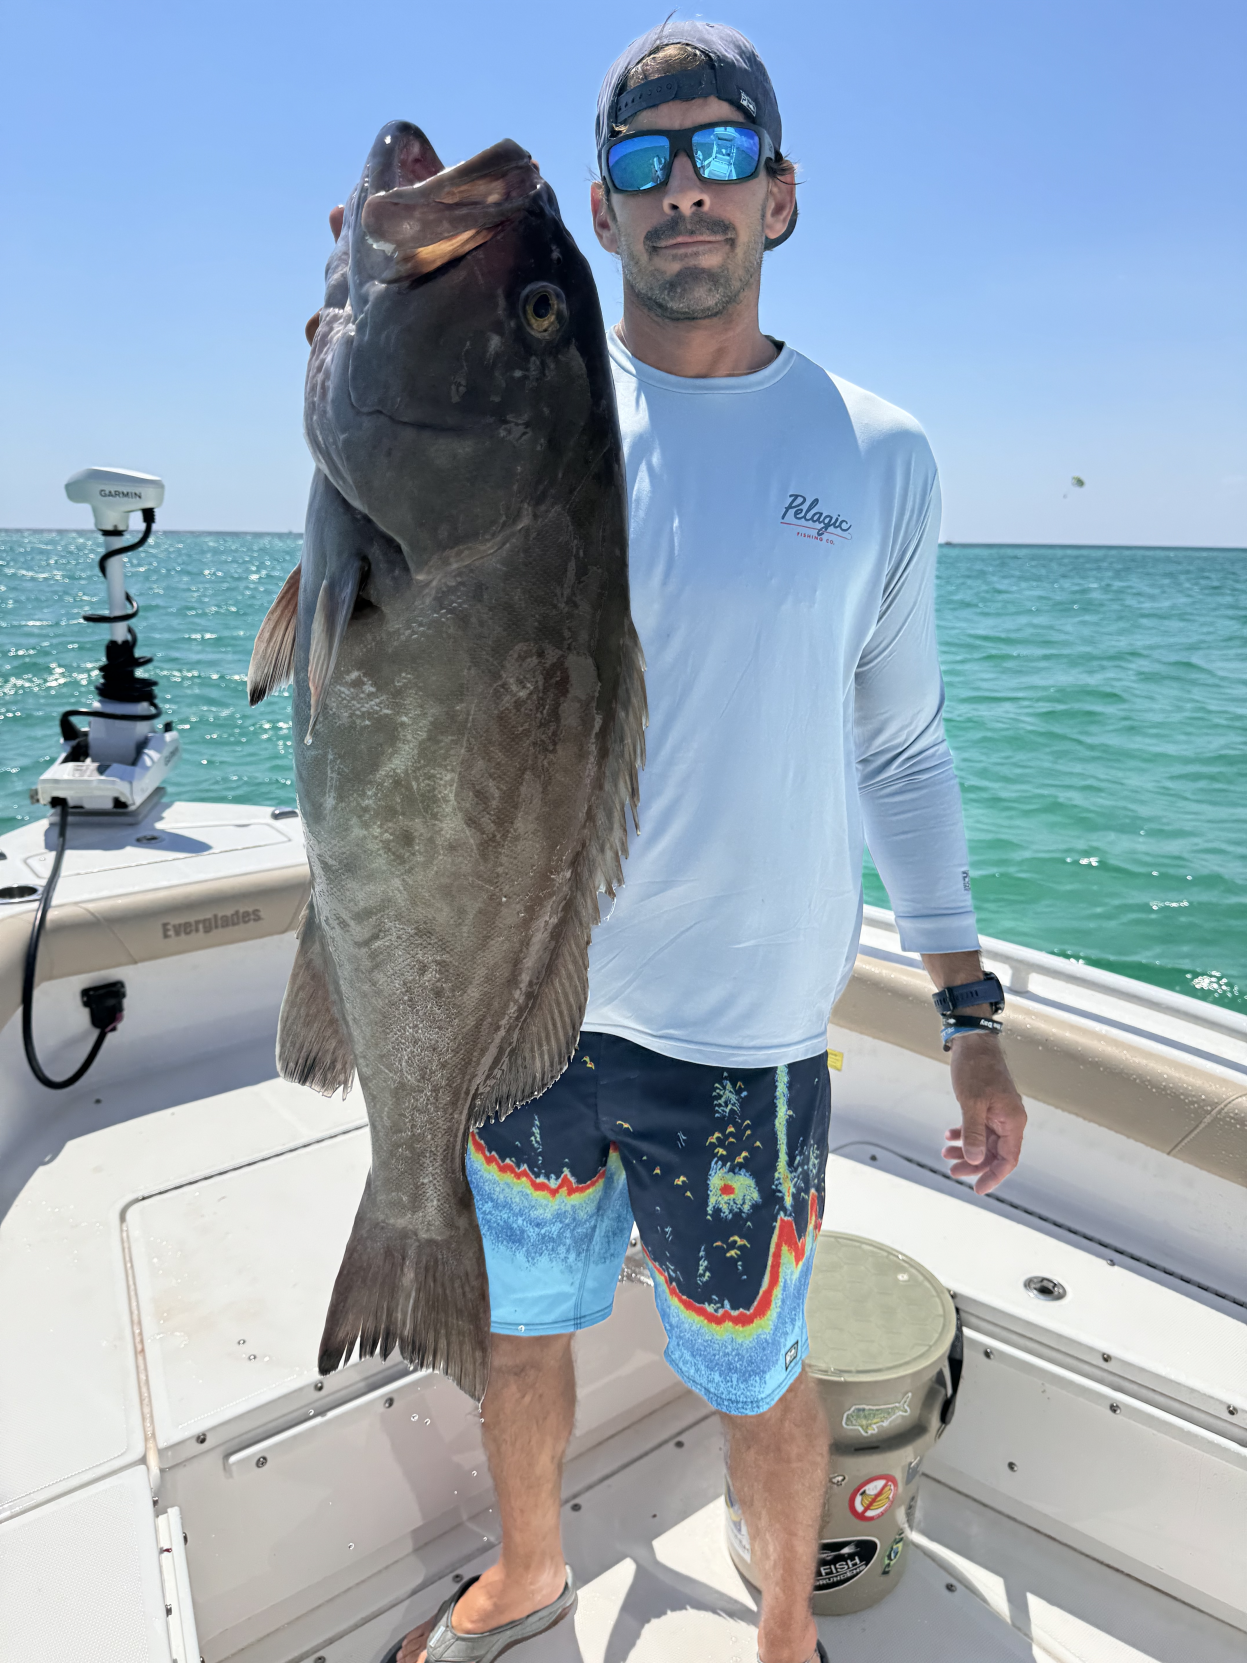
When bottom fishing, especially in deeper water, I use a special Combo Screen of Split Zoom. I keep one side of the screen to view the entire water column and the other one on a bottom lock with slightly different settings. Sometimes, in 300’ of water, what might not look like much on the full screen, might show up on bottom zoom as an entirely different return. This might be a reef full of fish. With a few baits in the water, you’d be shocked at what comes out of the bottom! Some of my biggest fish have been caught came from places where I didn’t see anything other than something that looked different on my bottom lock.
There are a lot of options and some features that are smarter than me. TVG (Time Varying Gain) can actually adjust the gain to change at different depths (ie, 0-50’ off, 50-100’ low or med, 100-150’ med, 150’+ high, etc), Pic Advance increases the return speed and changes the display, and I don’t even have the space here to get into Navigation options, Engine, Stereo, and VHF Integration, or my recent favorite – trolling motor control. I don’t think I can come back from this. Being able to navigate to my waypoint and anchor lock from the chart plotter has been a serious improvement.
I’m also a big believer in updating your software per the manufacturer’s recommendations. I’ve found that most issues post-update involve user error and you’d be surprised at the improvements. Things may take a second to get used to, but they’re generally updates from the experts and for a reason. I’ve been in a habit of reading the software release documentation to know what the changes are.
One last thing (for now): Manufacturer’s don’t know where in the world the unit will be sold. Some of the GPS settings are pretty generic – I’ve noticed there are some options to change for better GPS accuracy depending on where in the world you are. In the USA and Europe, available WAAS/ EGNOS signals can improve position accuracy.
Understanding the sonar image on your chart plotter is a huge advantage in catching fish. The more you see, the more you can learn to identify fish, and the more you understand will definitely lead to more catches! Play around with some of the settings and watch how it changes the return!
